Quay
![]() Quay is a container image registry in which you can store container images in a central location.
Quay is a container image registry in which you can store container images in a central location.
As a regular user, you can create repositories to organize your images and selectively add read (pull) and write (push) access to the repositories you control.
Note
In this tutorial, please replace the following values:
ZONE_NAMEwith the name of the administrative zone (it starts withocb-).
Quay access
In your administration environment, Quay service is located at this address:
https://docker-registry.ZONE_NAME.caascad.com
Web UI 
The Web UI allows you to manage organizations, repositories and other features like permissions, robot accounts, make repos public or private, etc...
Login 
To be able to login into Quay's Web UI, you first need your Keycloak credentials. For more info regarding Keycloak, please refer to Authentication page.
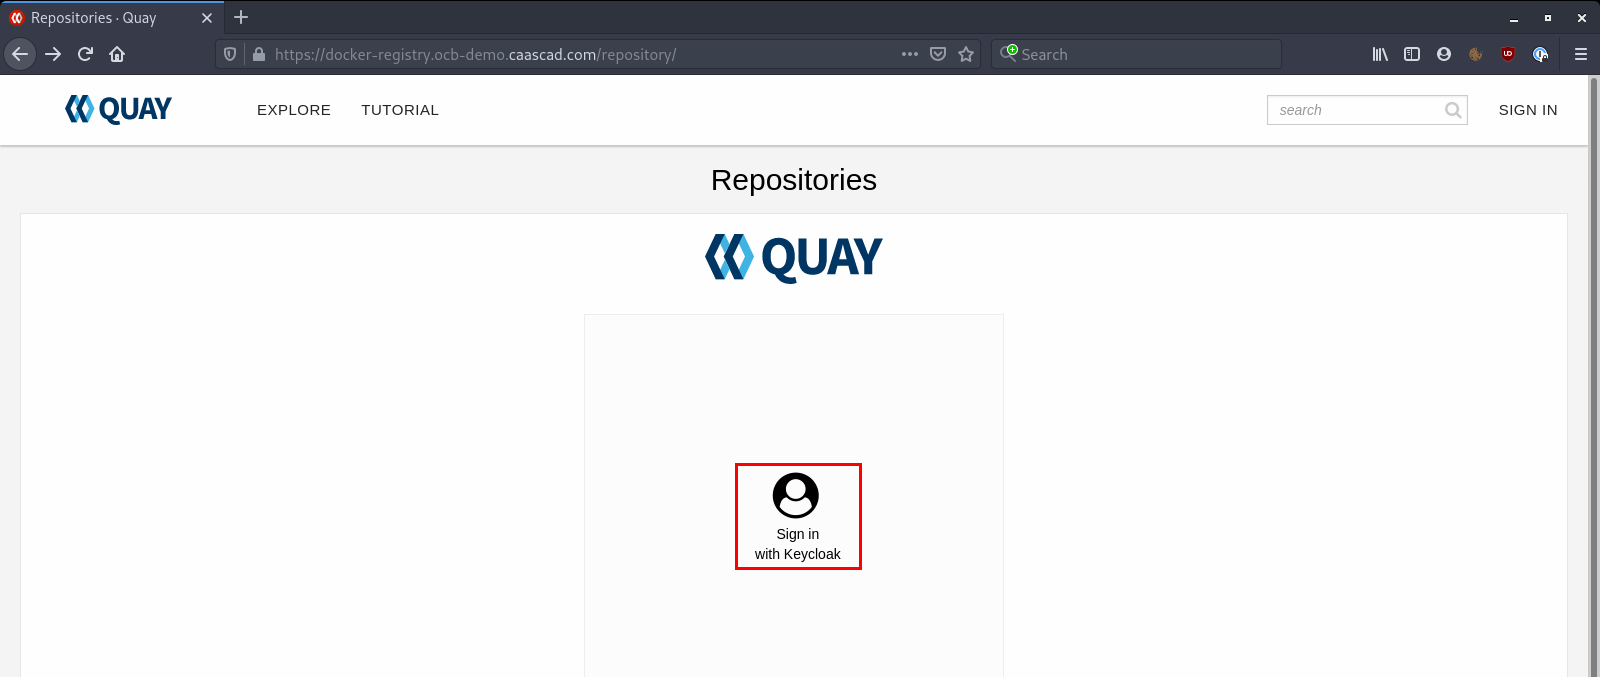
The first time you connect to Quay, your user will be created automatically. To do so, you need to click on "Sign in with Keycloak":
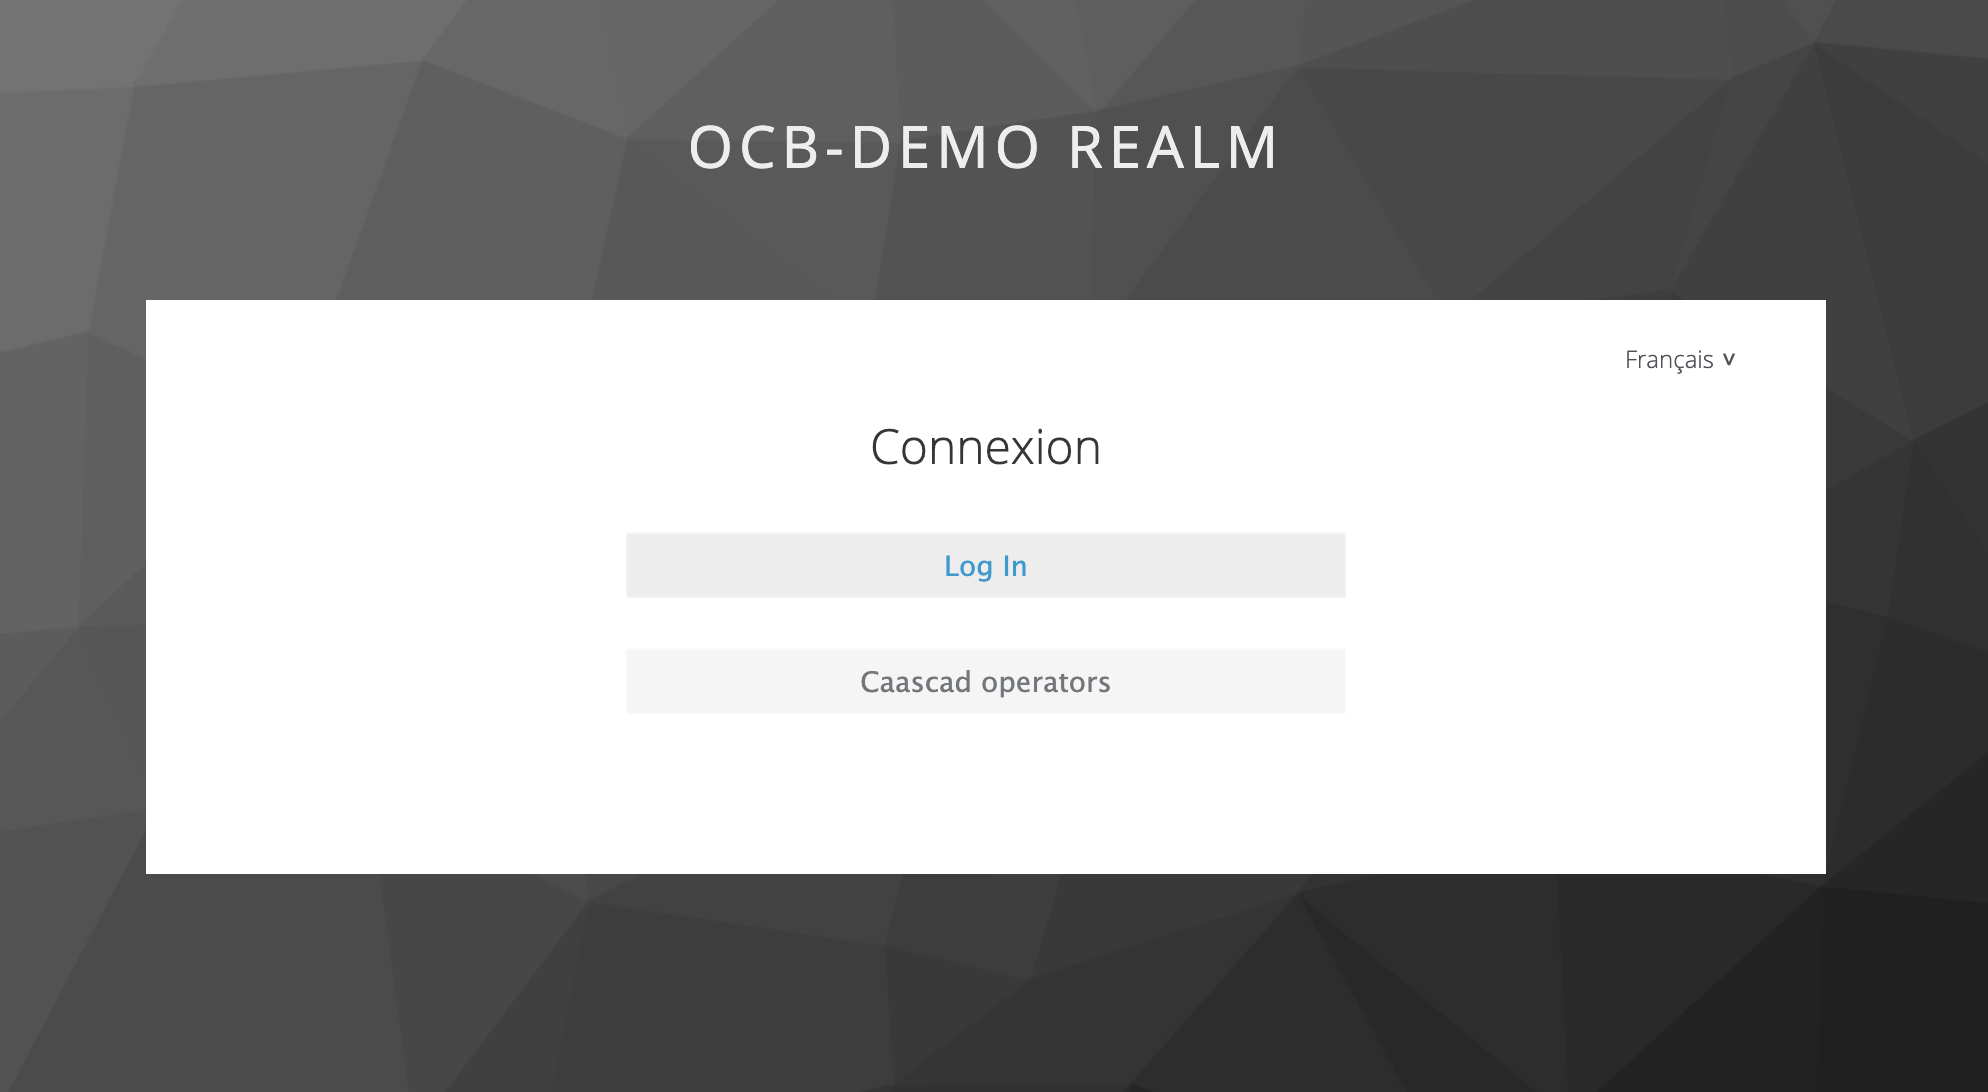
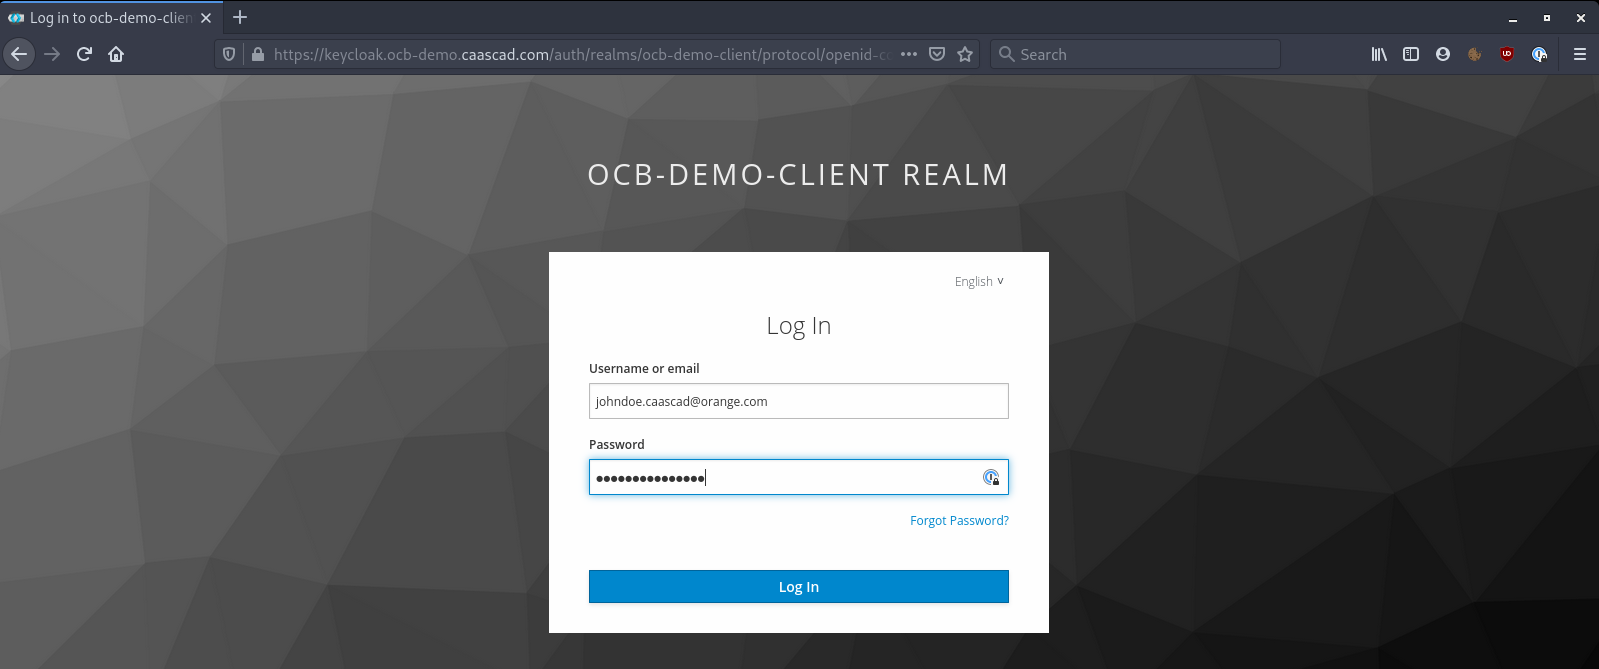
And then enter you User / Password:
Once logged in you will be landing on this page:
And confirm your username:

you are now ready to use Quay.
Application tokens 
For security reasons, local accounts on the Docker registries are disabled. So if you want to pull or push docker images via the Docker's CLI, you need to create an application token.
Do to so, you need to go on the registry (docker-registry.ZONE_NAME.caascad.com) and sign in with Keycloak.
Once logged in, click on your username -> Account Settings at the top right corner:

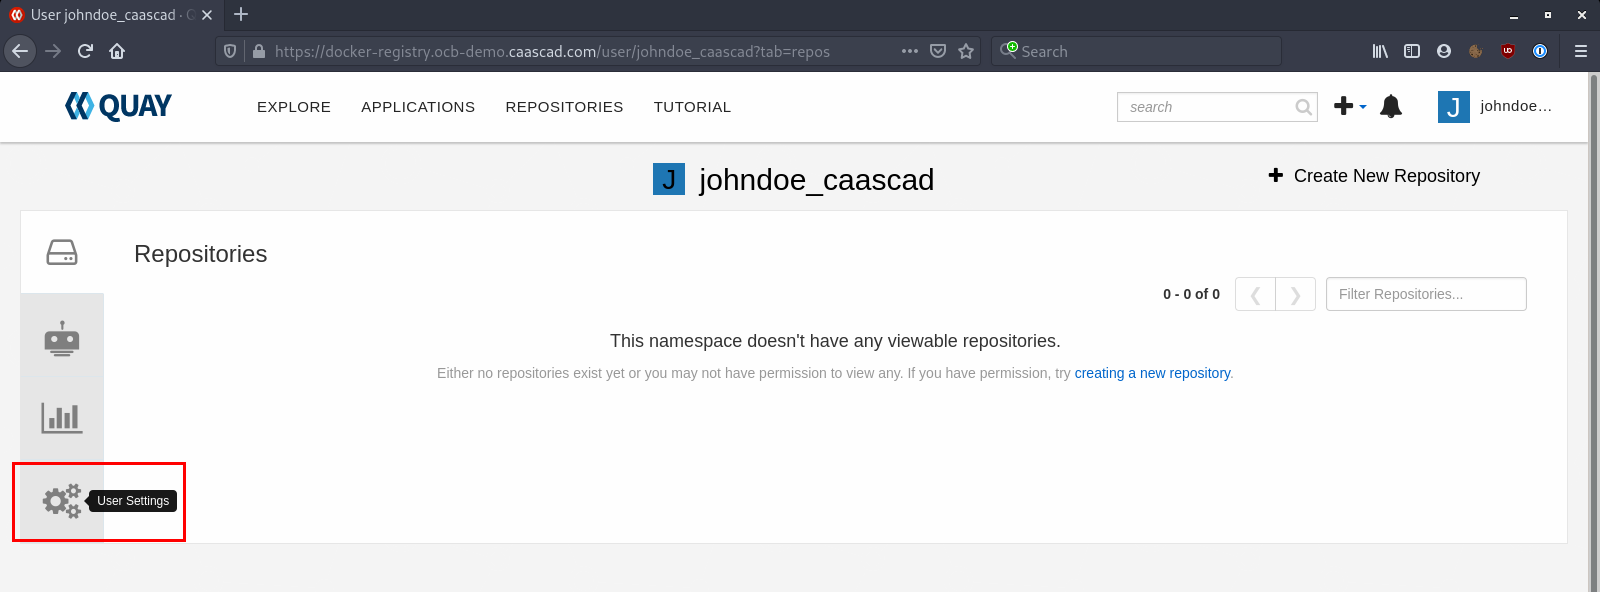
Go to User Settings:
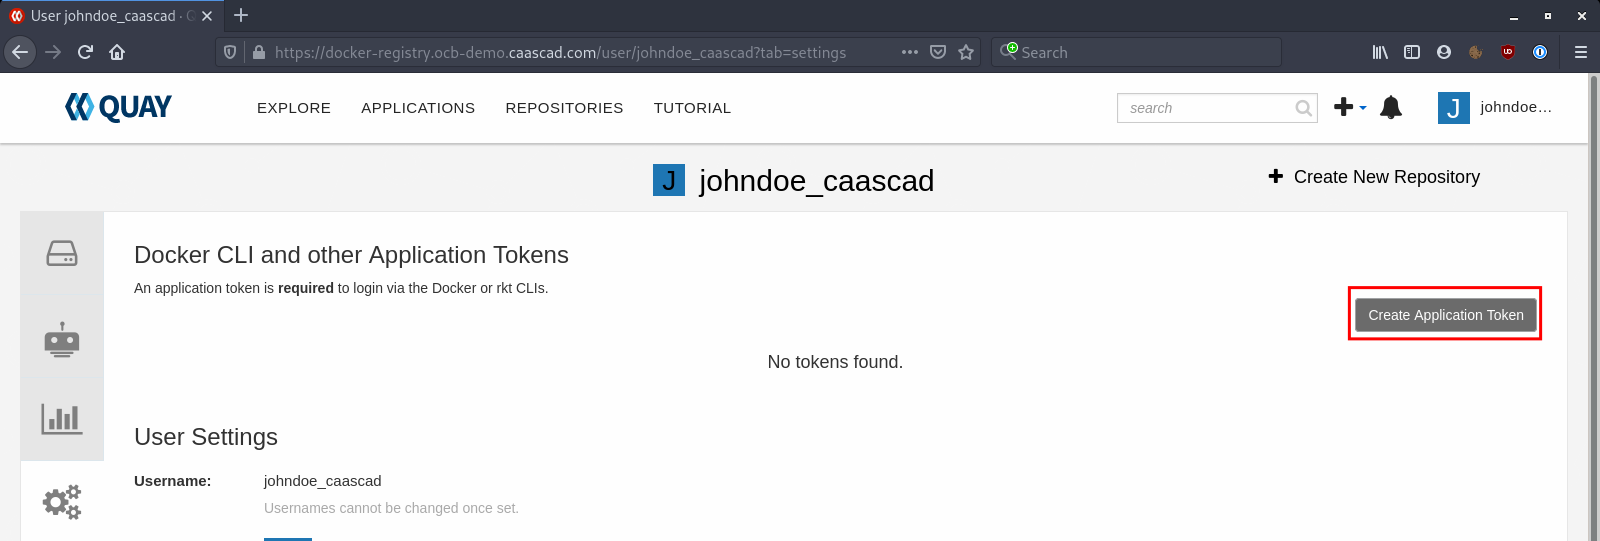
Click on Create Application Token:
Give a name to your Token, it can be whatever you want:

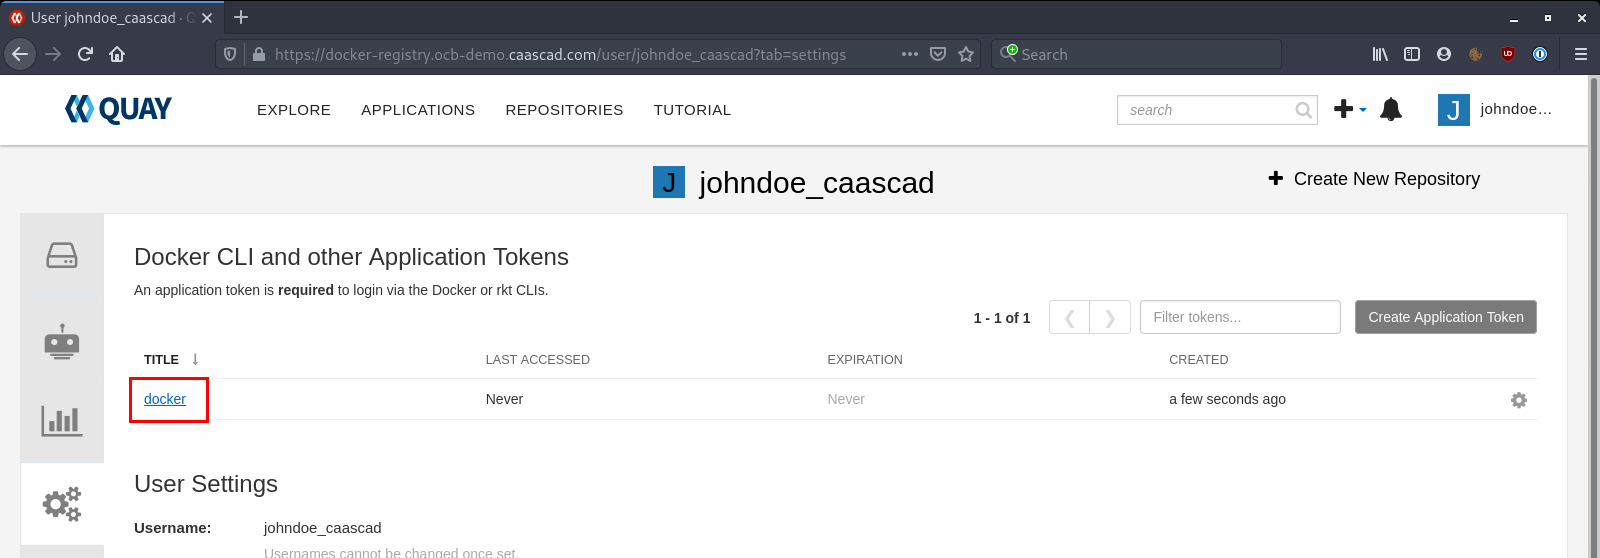
Click on the token you've created:
Select Docker Login and copy the given command:
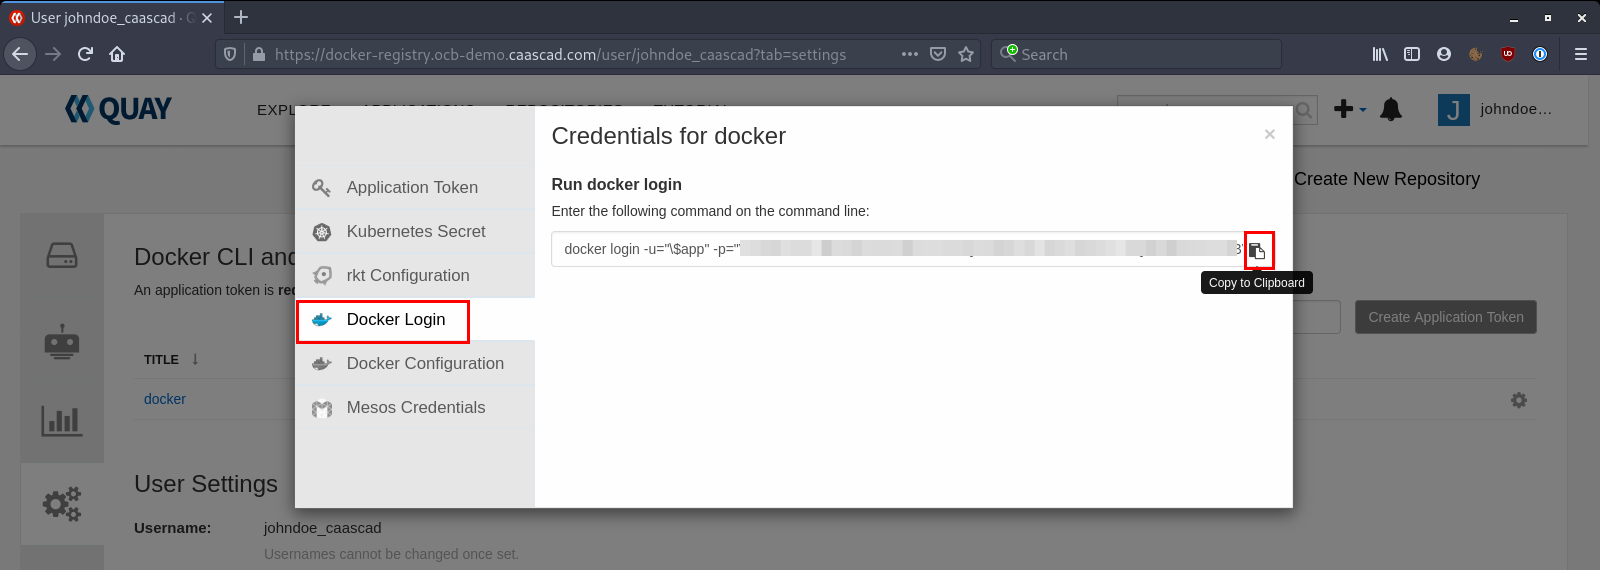
And finally, open a terminal and paste the command given by the token:
## We first need to login using the AppToken
➜ docker login -u="\$app" -p="XXXXXXXXXXXXX" docker-registry.ocb-demo.caascad.com
WARNING! Using --password via the CLI is insecure. Use --password-stdin.
WARNING! Your password will be stored unencrypted in /home/yohann/.docker/config.json.
Configure a credential helper to remove this warning. See [documentation](https://docs.docker.com/engine/reference/commandline/login/#credentials-store){target=_blank}

Login Succeeded
Now you are be able to use Docker commands to push / pull images on the registry.
Push new Docker image 
To use the registry via Docker cli, you first need to login via the ApplicationToken as showed before.
To push into your registry you need to tag the image following this schema URL/ORGANIZATION/IMAGE_NAME:IMAGE_TAG.
Here is an example:
## We first need to login using the AppToken
➜ docker login -u="\$app" -p="XXXXXXXXXXXXX" docker-registry.ocb-demo.caascad.com
WARNING! Using --password via the CLI is insecure. Use --password-stdin.
WARNING! Your password will be stored unencrypted in /home/yohann/.docker/config.json.
Configure a credential helper to remove this warning. See [documentation](https://docs.docker.com/engine/reference/commandline/login/#credentials-store){target=_blank}

Login Succeeded

## Get an image from Docker hub or create it via a Dockerfile
➜ docker pull ubuntu:20.04
20.04: Pulling from library/ubuntu
Digest: sha256:c95a8e48bf88e9849f3e0f723d9f49fa12c5a00cfc6e60d2bc99d87555295e4c
Status: Downloaded newer image for ubuntu:20.04
docker.io/library/ubuntu:20.04

## Tag the image with the schema URL/ORGANIZATION/NAME:TAG
➜ docker tag ubuntu:20.04 docker-registry.ocb-demo.caascad.com/demo/ubuntu:20.04

## Push the image into Quay
➜ docker push docker-registry.ocb-demo.caascad.com/demo/ubuntu:20.04
The push refers to repository [docker-registry.ocb-demo.caascad.com/demo/ubuntu]
f6253634dc78: Pushed
9069f84dbbe9: Pushed
bacd3af13903: Pushed
20.04: digest: sha256:4e4bc990609ed865e07afc8427c30ffdddca5153fd4e82c20d8f0783a291e241 size: 943
Manage Organizations 
Organizations provide a way of sharing repositories under a common namespace that does not belong to a single user, but rather to many users in a shared setting.
Create an Organization 
To create an Organization you first need to login into the Web UI. And click on the "+" icon -> "New Organization" at the top right corner:

And give a name to your Organization:

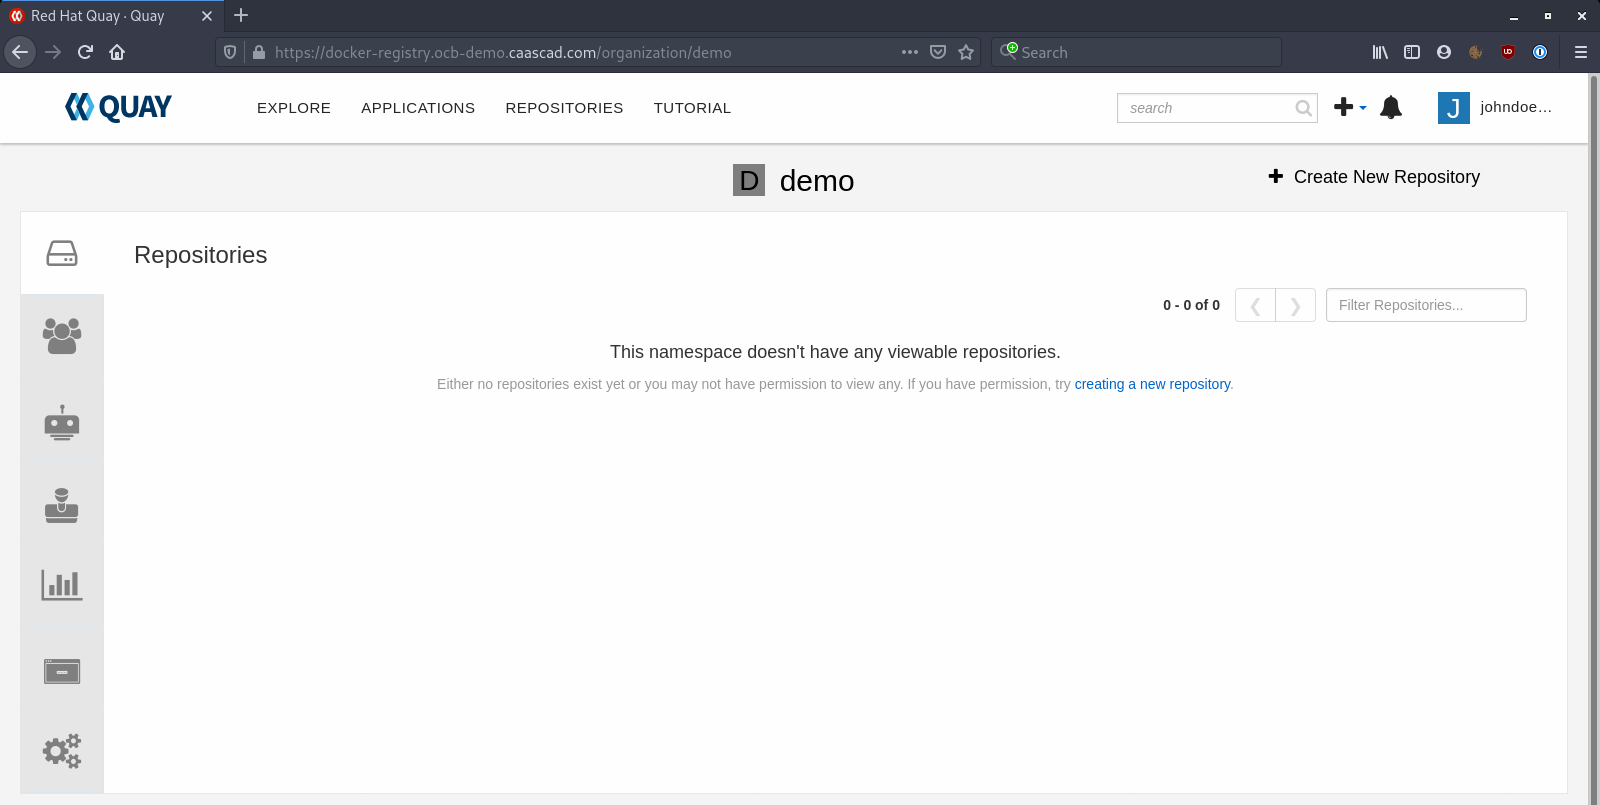
Here is your new Organization, from this page you will be able to manage Users and Teams, Robot Accounts, Default permissions, and read some logs for this Organization:
Manage Teams 
A team consists of a group of Users with common permissions in an Organization.
To create a team, you need to go to the Organization and click on "Team and Membership" at the left sidebar.

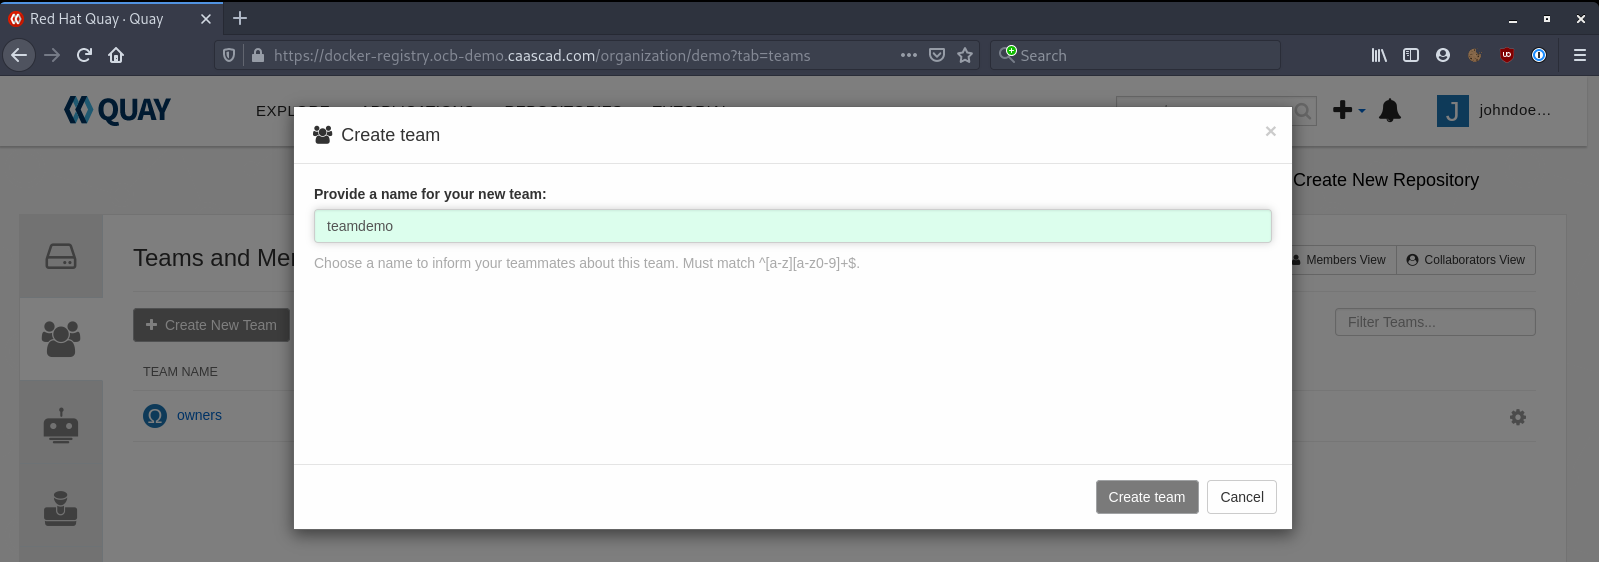
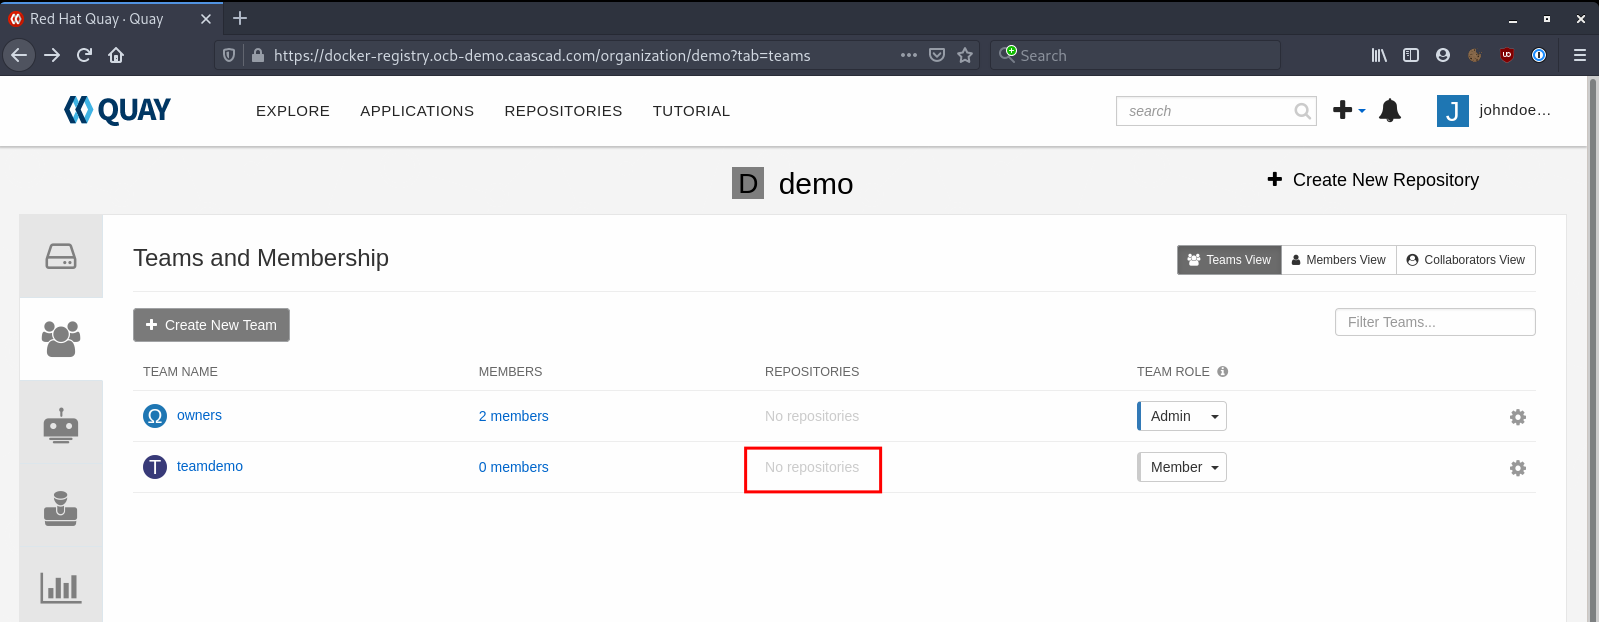
You can give permissions (read or write) for each existing repository Click on "No repositories":
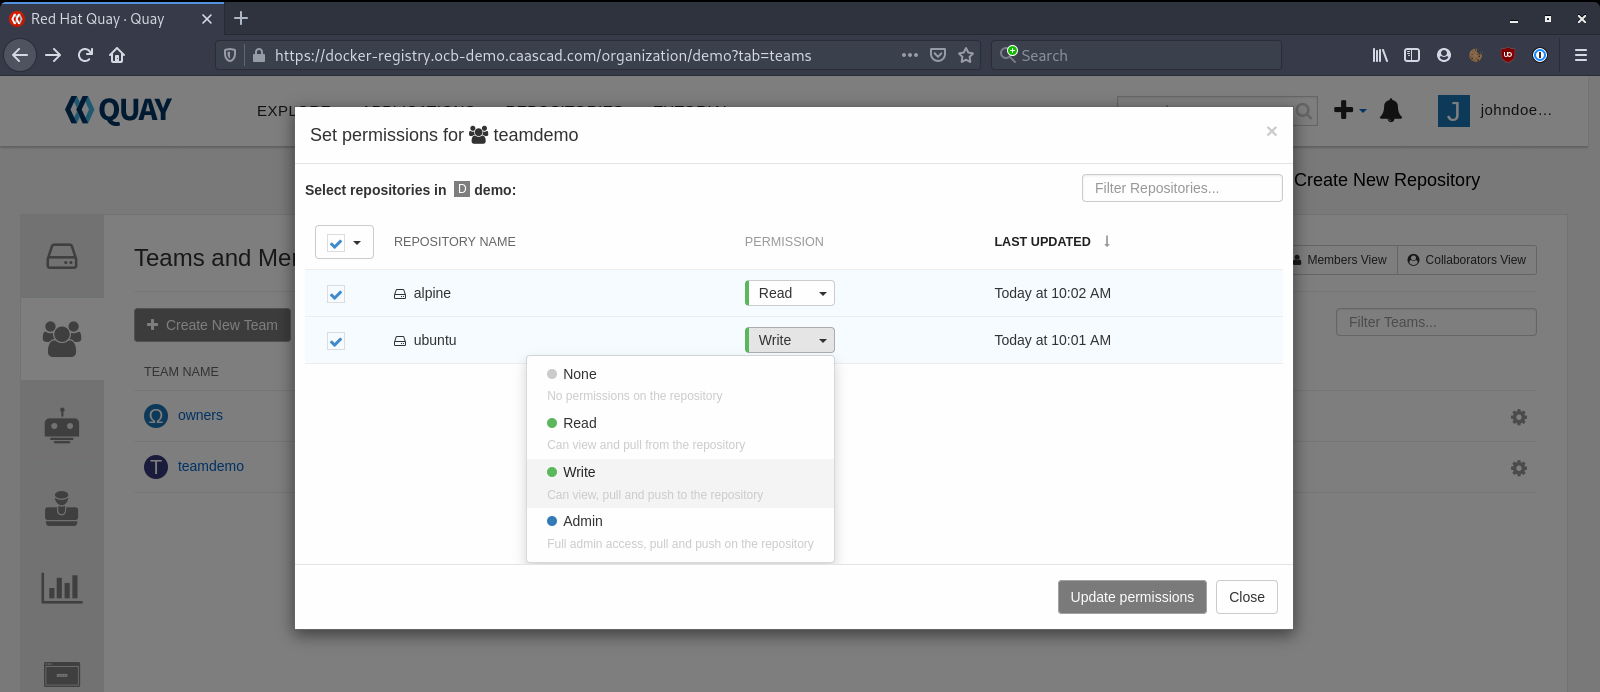
Select the Repositories you want to give permissions for, and chose the level of permissions needed:
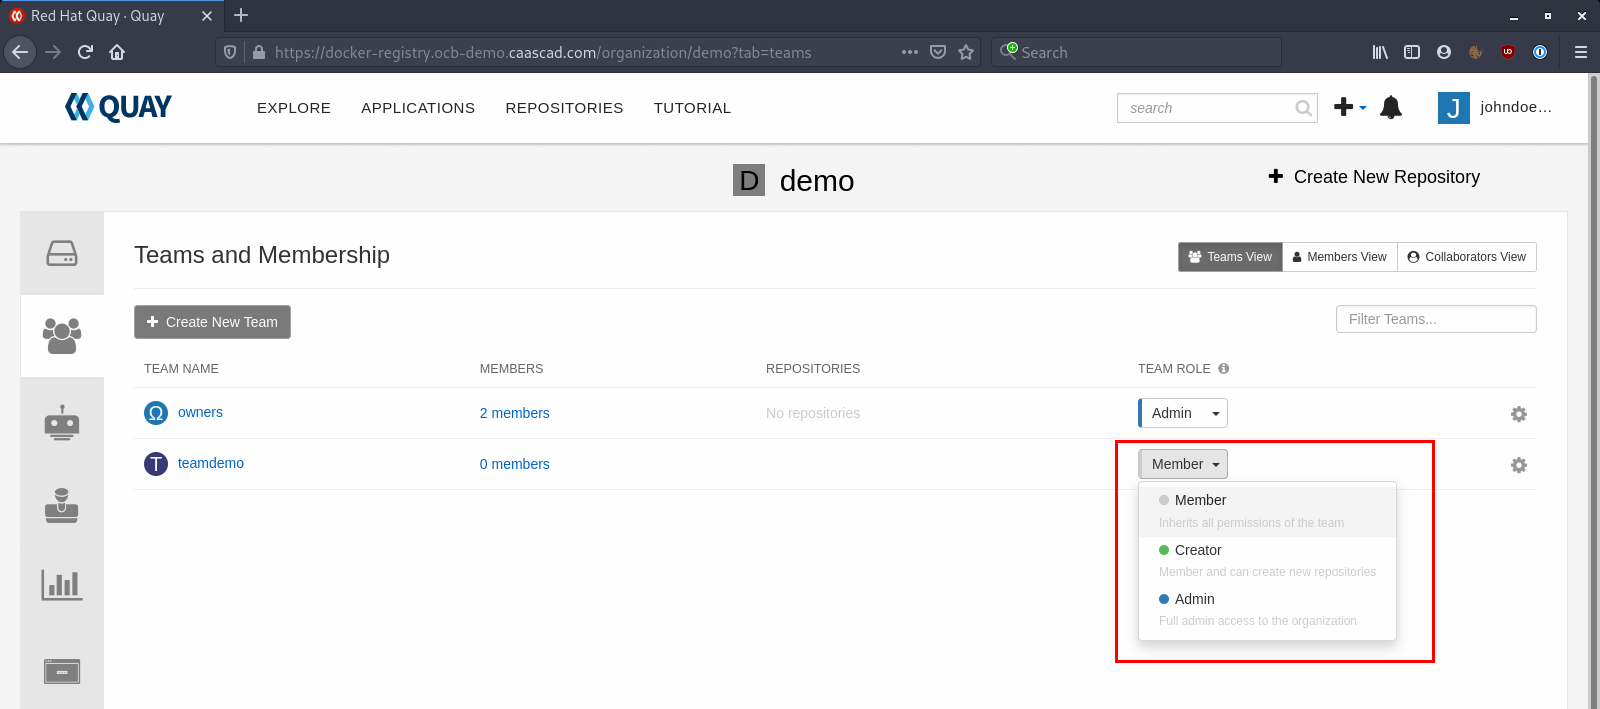
Finally you need to select a Role for the Team:
-
Member role is the minimal permissive role, it only gives to the team the permissions set before (Read or Write on existing repositories), and do not allows the Users to create new repositories or even see the other repos.
-
Creator role gives the same permissions than Member and allows the Users to create new Repositories.
-
Admin role gives full admin access to the Organization. The user who created the Organization is Admin by default.
Manage users permissions in an Organization 
We have to give to Users access to an Organization before they can see it and work on it. A good way to do this is by adding Users to a Team created before.
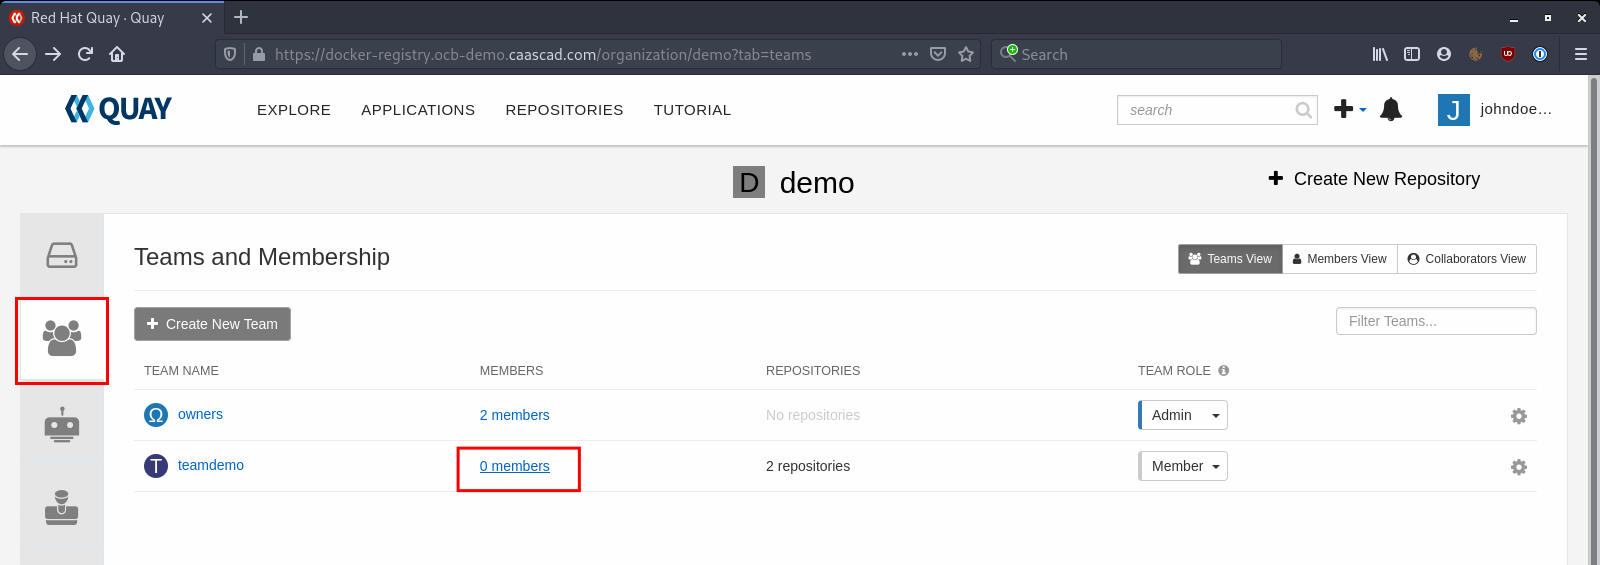
To do so, you need to go to the Organization, and click on "Teams and Membership" and select the team you want:
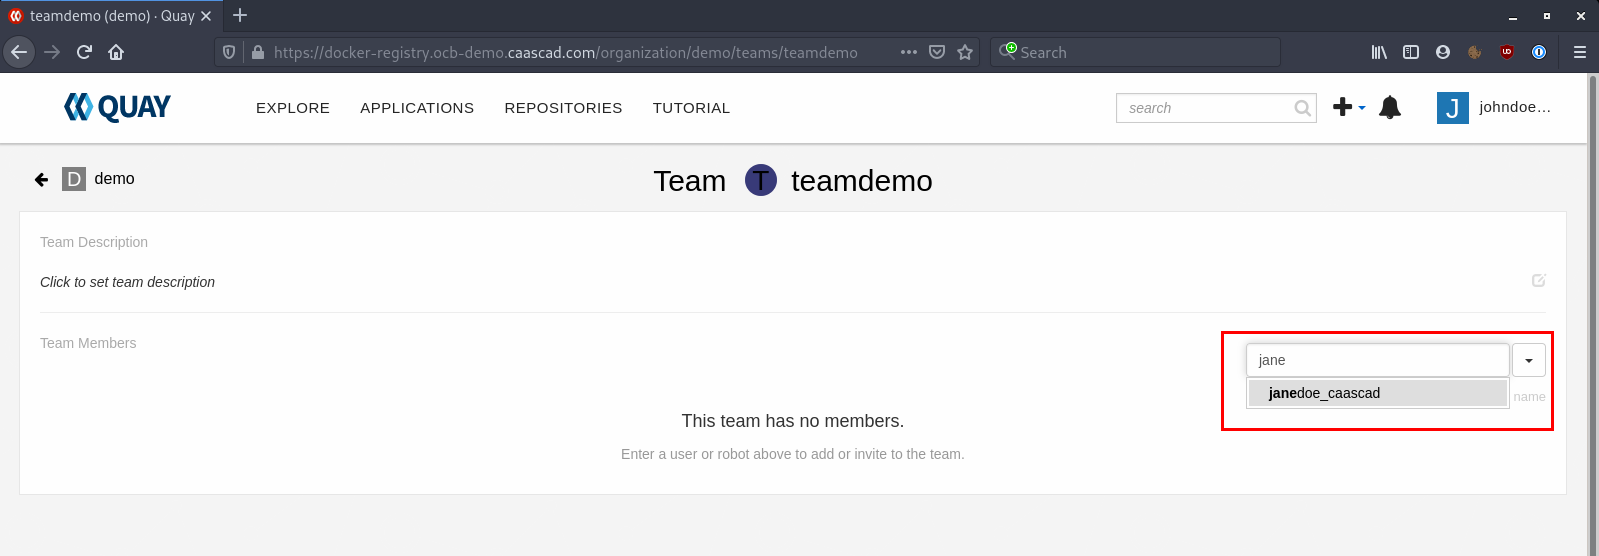
Find the Users you want to add and click on it to add the user to the team:
Default permissions 
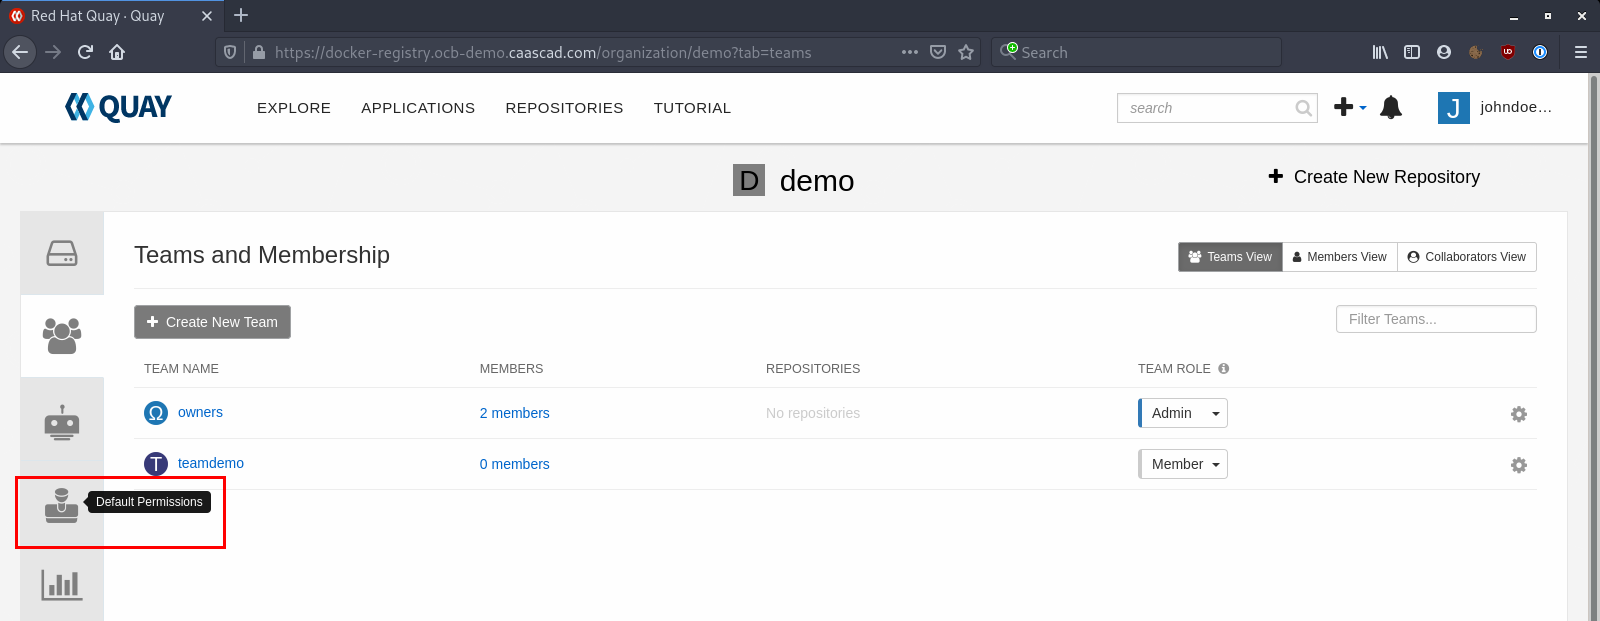
Permissions given before are only applied to existing repositories. If we want to automatically apply permissions to new repositories we need to define "Default Permissions".
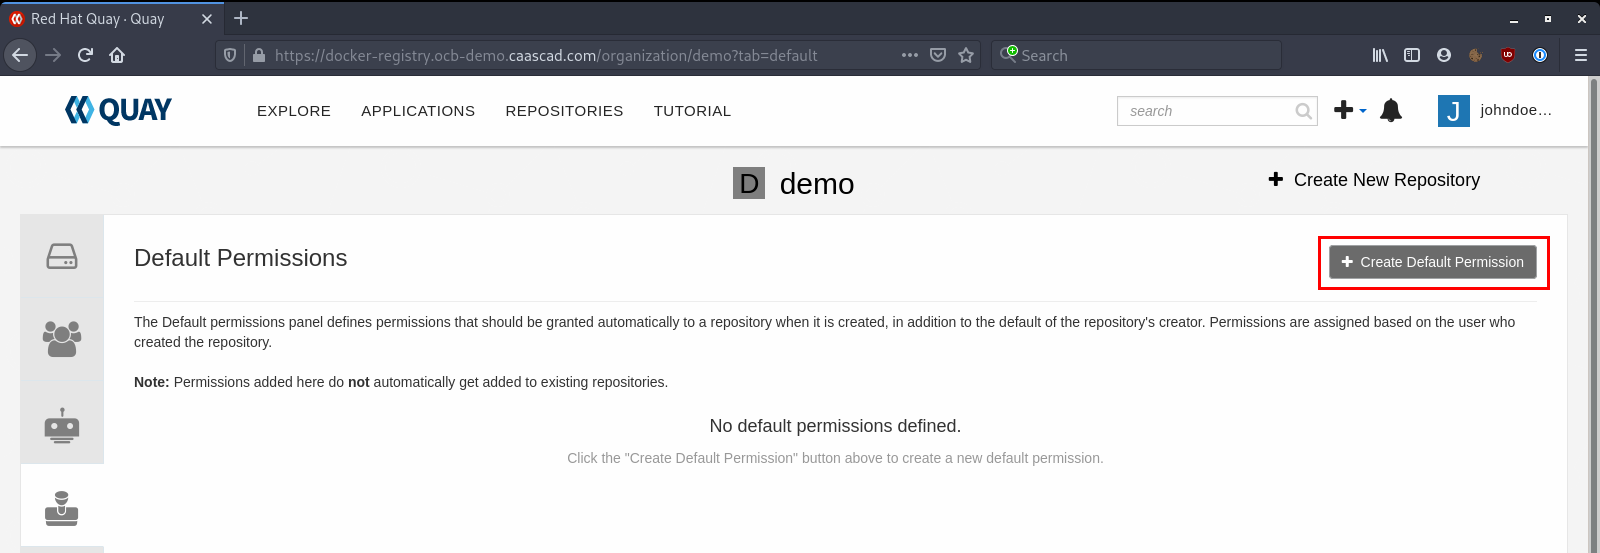
To do so you need click on "Default Permissions":
And click on "Create Default Permission":
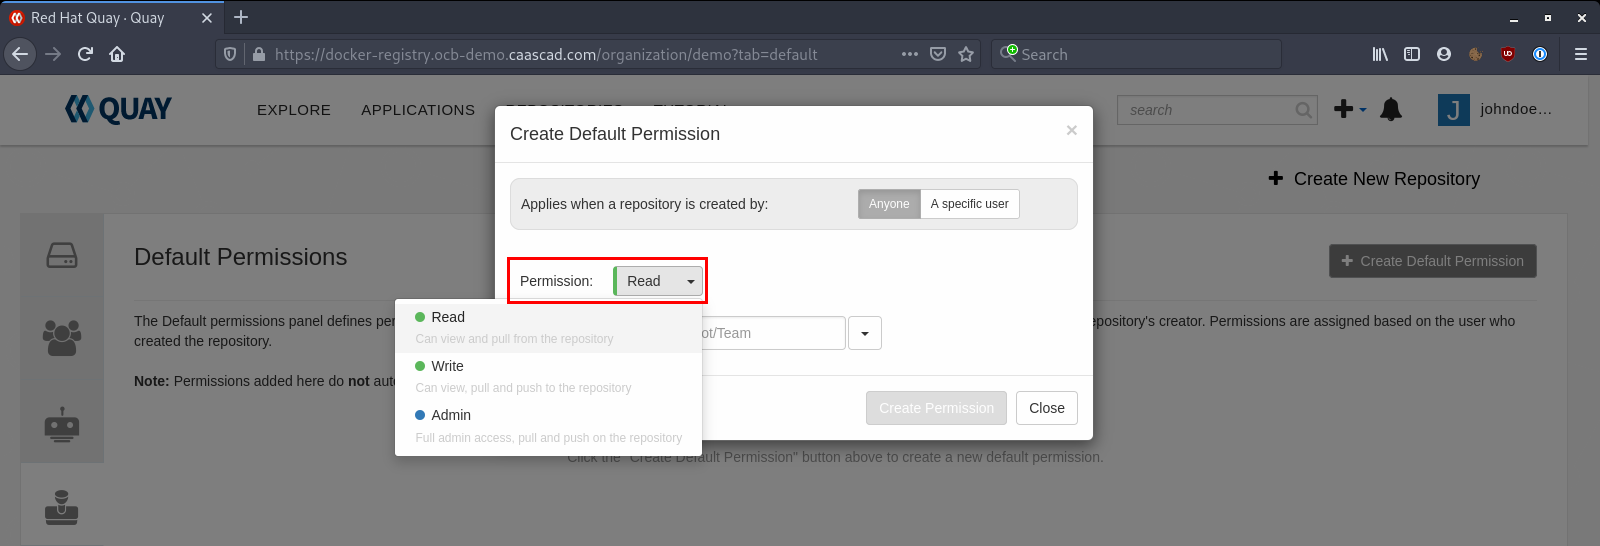
Here you can select the default permissions (Read, Write or Admin):
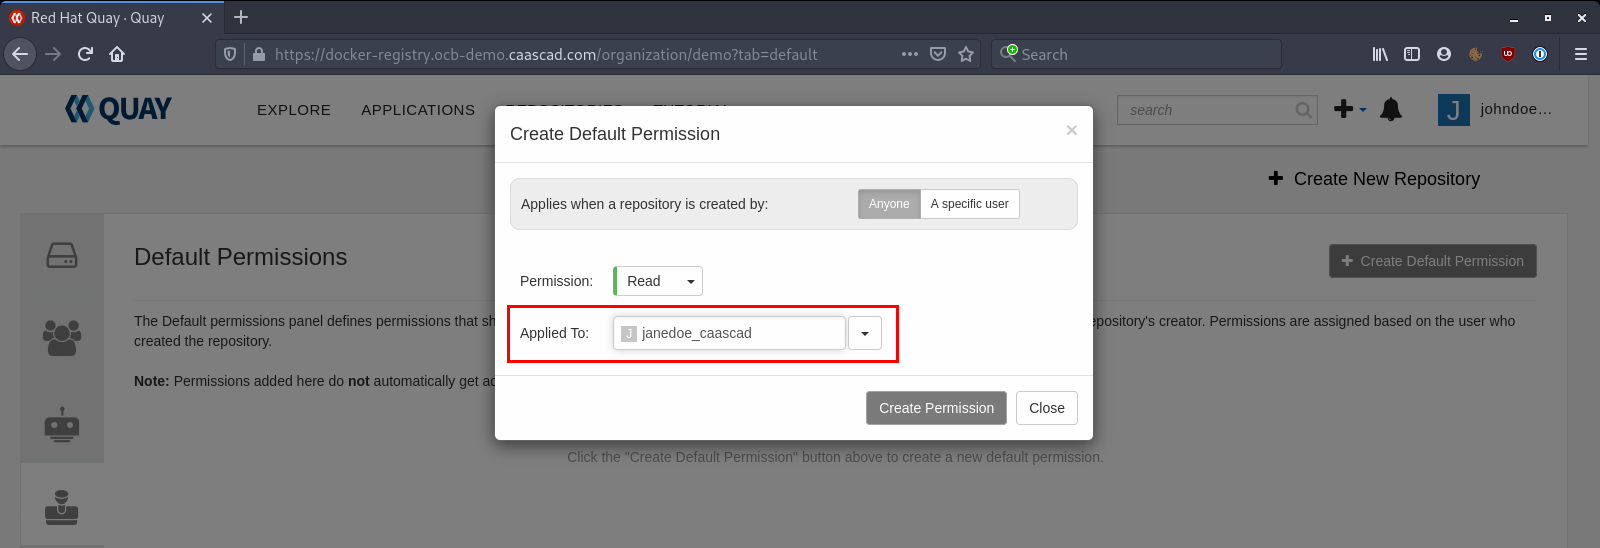
And select the users or teams which will get this permission: Be careful, the default permissions are only applied to the new repositories, not the existing ones.
Manage Robot accounts 
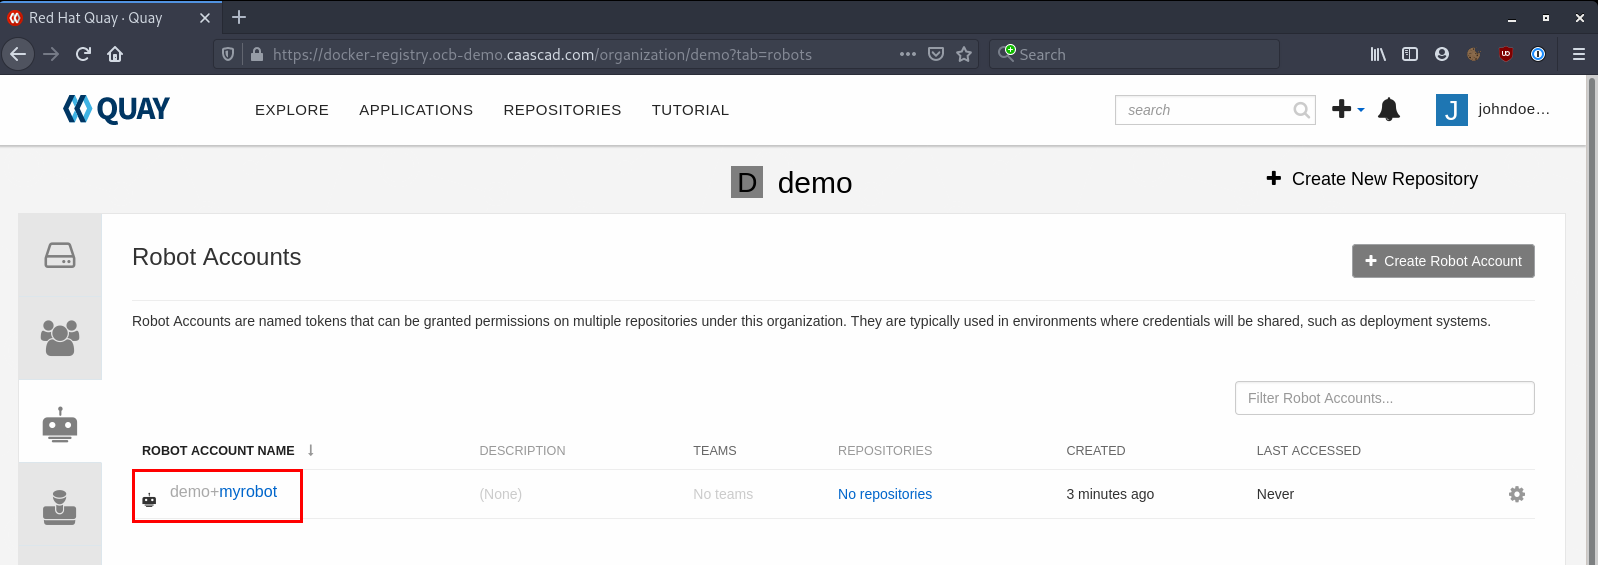
Robot accounts are a way to access repositories without requiring a human user account. A robot account has its own credentials, generated by Quay and are linked to an Organization. Like Users, they need permissions to work with repositories, so they can be added to Teams, have permissions for each repositories or default permissions. Robot accounts are intended for automation, with pipelines for example.
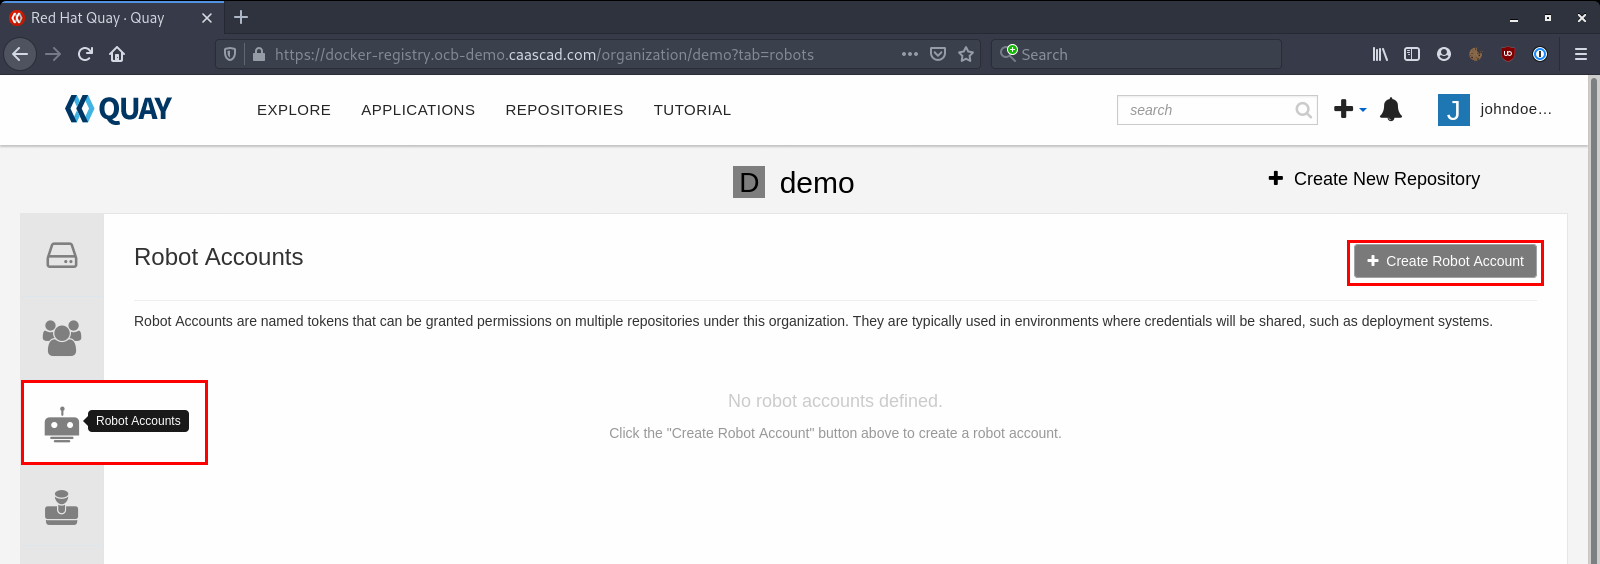
To create a robot account, you need to go to an Organization, click to "Robot Accounts", and "Create Robot Account":
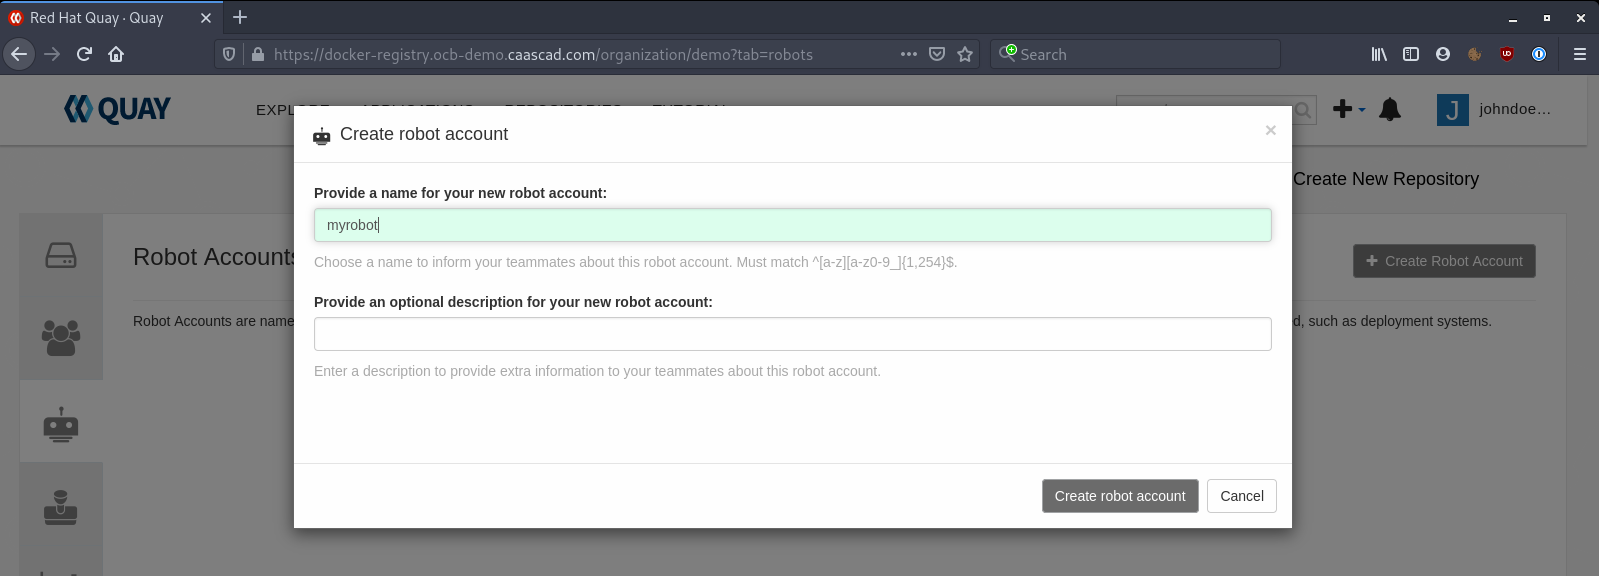
Give it a name, and, optionally, a description:
You can get its credentials by clicking on the Robot Account:
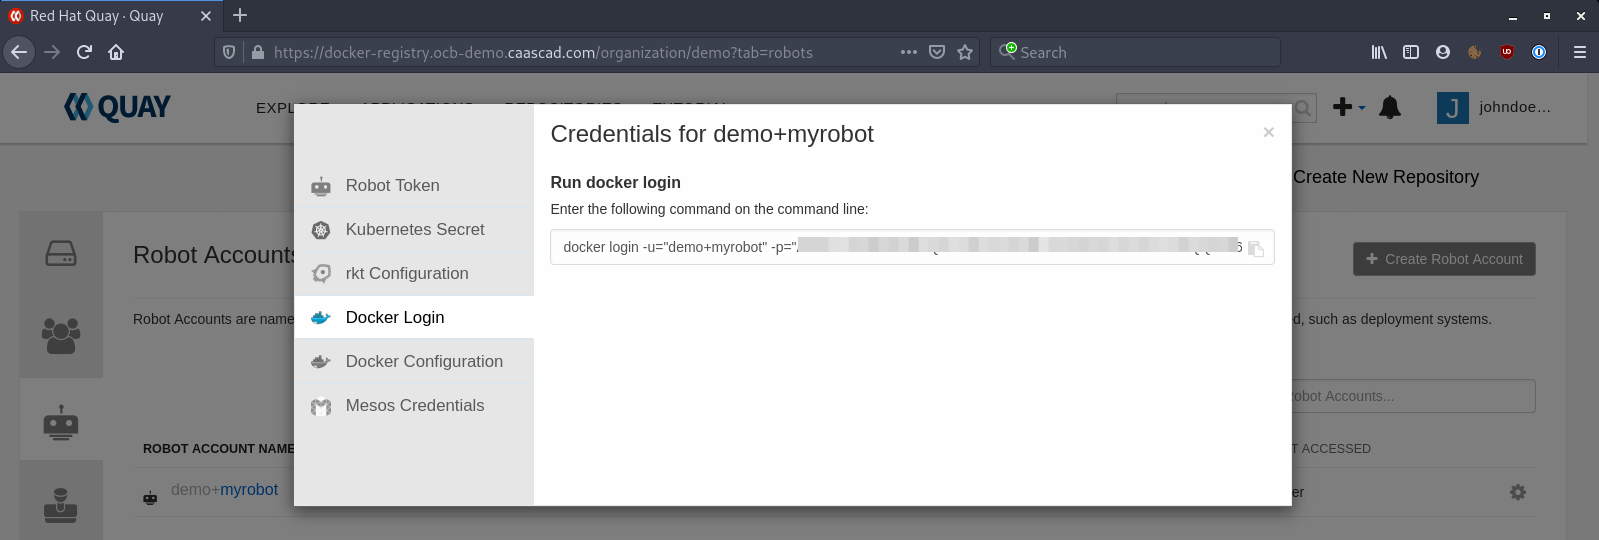
For example, here you can get the "docker login" command:
Manage repository visibility 
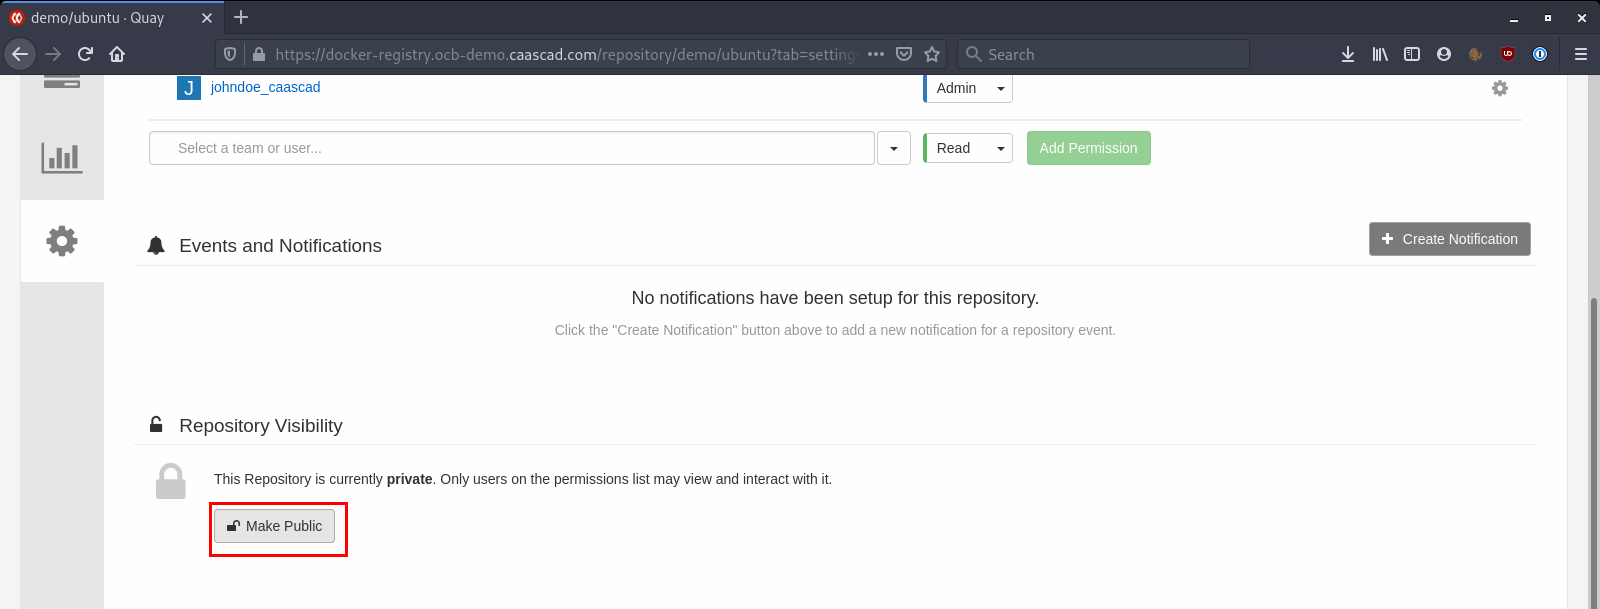
The Docker registries are accessible on the Internet, so you have to be careful about the visibility of your repositories. By default all repositories are "private" which means you need to be logged in and have permissions to see and work with the repos. But if you turn a repo into "Public" it will be accessible on the internet without needding to login.
To turn a repo into Public, you need to click on the repo:

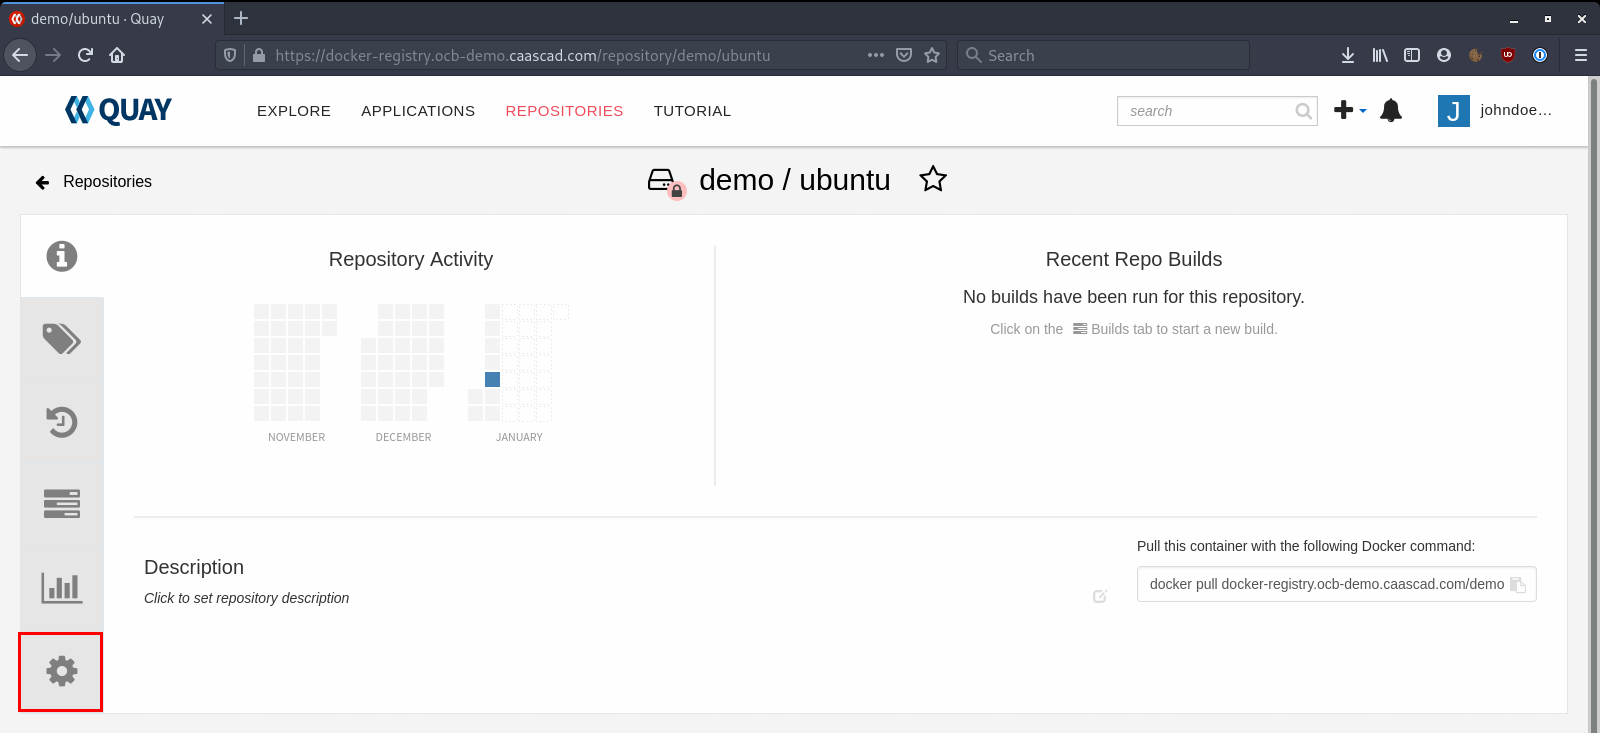
And scroll down to "Make Public":
Use private images in Kubernetes® 
Kubernetes® can use private repositories, to do so you need a Robot Account with at least Read permission on the repos you want to deploy.
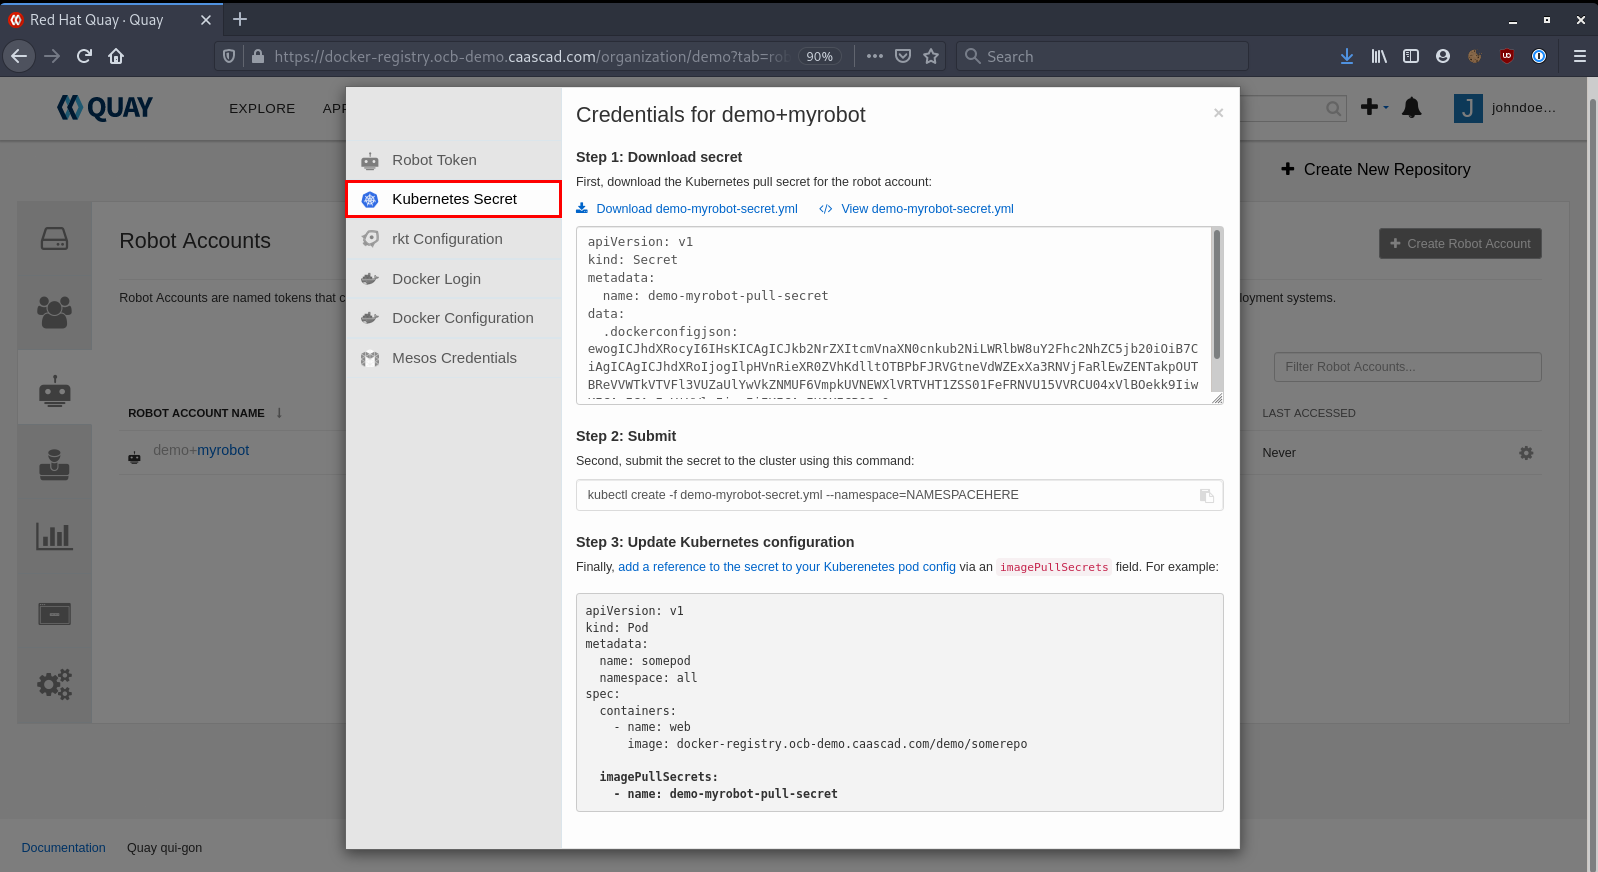
Quay gives you the procedure to create the needed secrets and add the configuration to your Kubernetes® deployment.
Click on the Robot account, and select "Kubernetes® Secret":
